Hello!
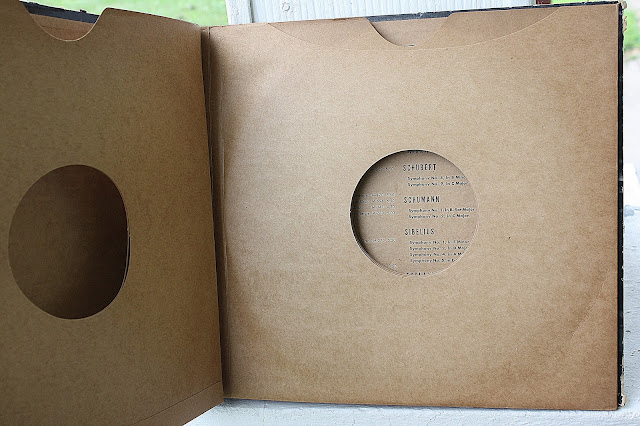
Today I'm going to transform a really old record binder into an enchanting, magical altered book! The old record binders are perfect for this as they are loaded with 12 x 12 pockets inside. The plan is to work on 12 x 12 scrapbook paper and then attach to each page in the binder. Today, I'm working on the cover and my theme is . . .
ALICE IN WONDERLAND!
A few months ago I found an incredible vintage version of Alice in Wonderland in an antique store. To add extra magic -- some of the pages had even been eaten by worms. Perfect, right? I'm going to use the pages in this book as ephemera. I gathered some favorite pages from the book, as well as some fairy-tale themed scrapbook paper, and a doily that I misted with DecoArt Media Mister in Shimmer Turquoise and Primary Cyan.
A few months ago I found an incredible vintage version of Alice in Wonderland in an antique store. To add extra magic -- some of the pages had even been eaten by worms. Perfect, right? I'm going to use the pages in this book as ephemera. I gathered some favorite pages from the book, as well as some fairy-tale themed scrapbook paper, and a doily that I misted with DecoArt Media Mister in Shimmer Turquoise and Primary Cyan.
I attached the ephemera to the book with a few thick layers of DecoArt Media matte medium. Once dry, I used DecoArt Media Liquid Glass to glue down some metal embellishments. Those embellishments are SO MUCH FUN plus they add a 3D element to the cover. Such magic.
I also wanted a bit of color to the book to contrast the brown aged pages - so I mixed some DecoArt Media Fluid Acrylic in Pthalo Blue (a favorite color as of late!) with Glazing Medium and applied throughout. For this, I used more and less of the paint mixed with the medium to get the effect I wanted.
To block out some sections, I used DecoArt Media black gesso on a brush, particularly around the edges of the book.
Now, I needed more texture and to achieve that I grabbed a palette knife, some black modeling paste and the Americana decor stencil in "Distressed Harlequin". Simply scrape the modeling paste through the stencil with the knife. Then, immediately clean the stencil. Dried modeling paste can ruin them.
For a last pop of texture, I used a paintbrush to apply thick sections of crackle glaze. The glaze will dry clear, but it will add some awesome crackle goodness to this cover.
And finally -- the finished photos!
I cannot wait to start working on the inside now...


No comments:
Post a Comment